Step 1: Trace hands the desired amount of times.


Step 2: Decorate the hand prints as desired. The kids and I painted ours and my husband used crayons.

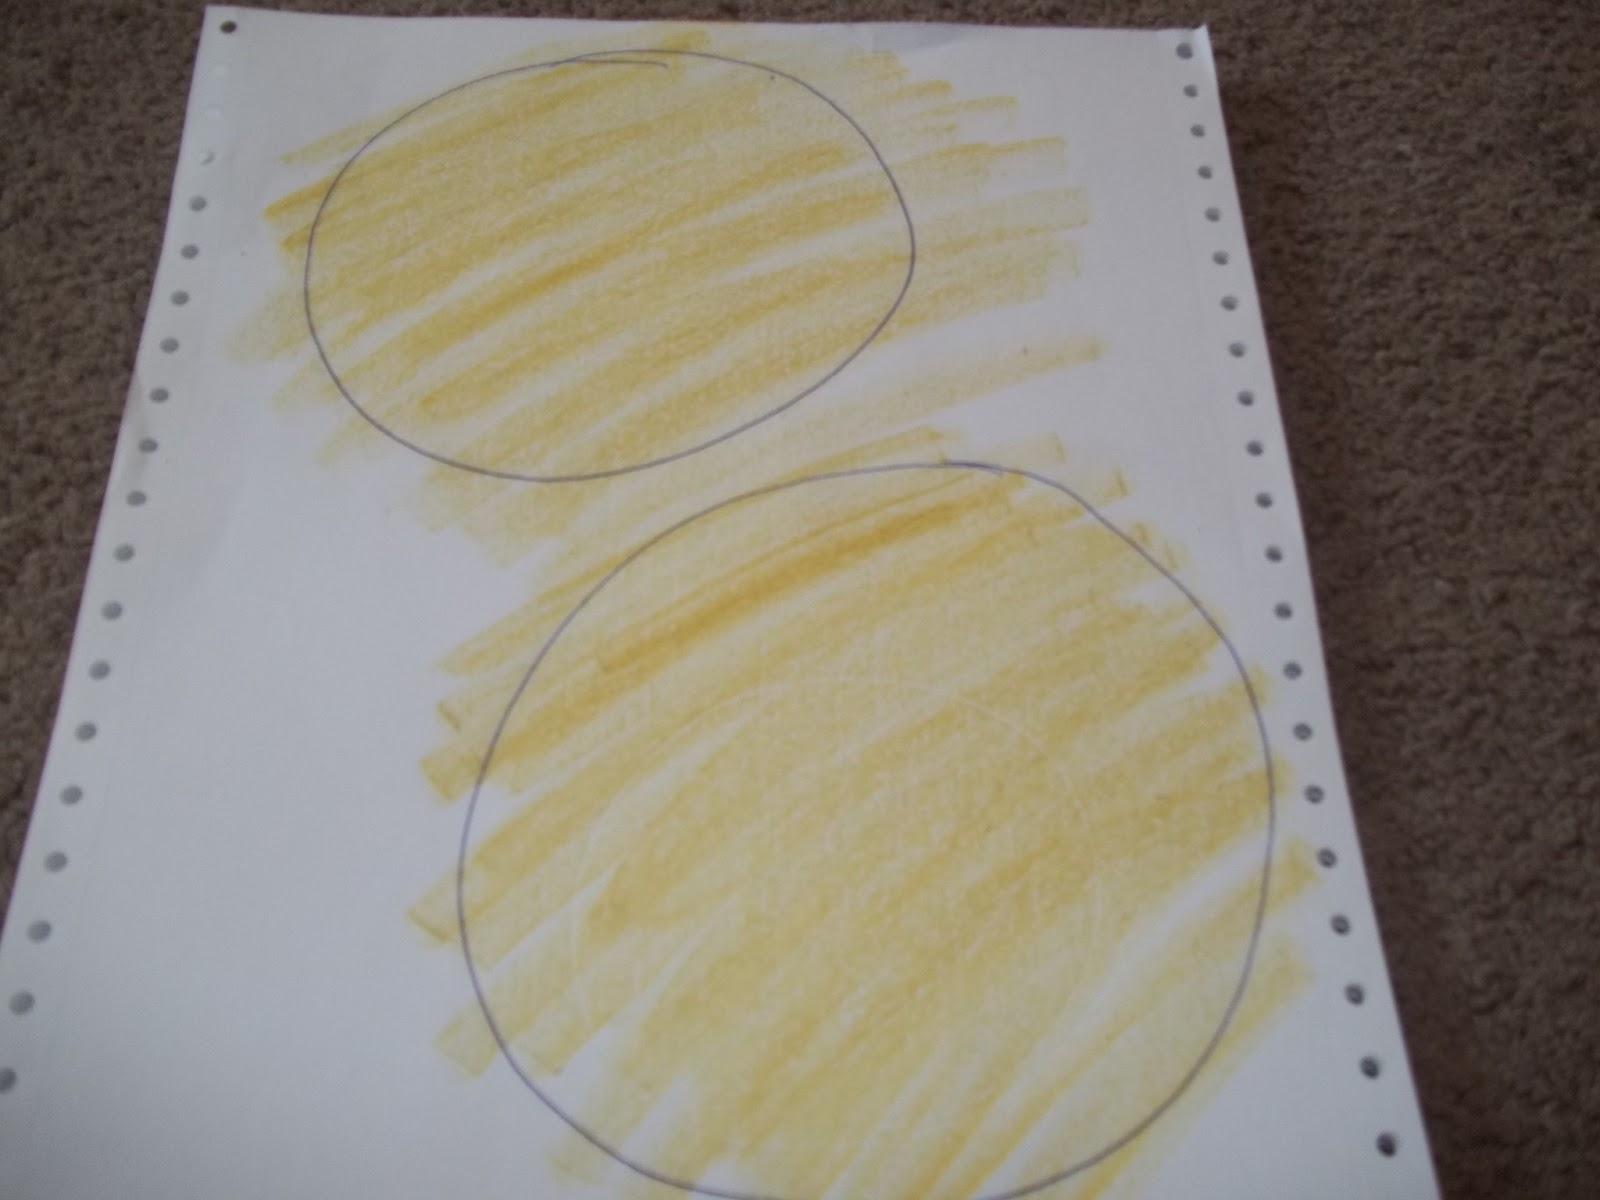
Step 3: Prepare the center of the flower (if desired). I colored a drawn circle with a gold crayon and was pleasantly surprised with how it turned out.

Step 4: Cut out the centers and hand prints.


Step 5: Cut out the hand prints and centers.


We experimented with different sizes of flowers. Here is what we came up with.


Step 6: Glue the desired amount of hand prints to the back of the center one by one.


We experimented with different sizes of flowers. Here is what we came up with.

This was a fun project, though a little time consuming. The kids and I painted our hand prints, so it was a 2 day project to wait for the paint to dry and cutting out all of the hand prints.
I hope this inspires some fun spring art projects!
- Vanessa
No comments:
Post a Comment